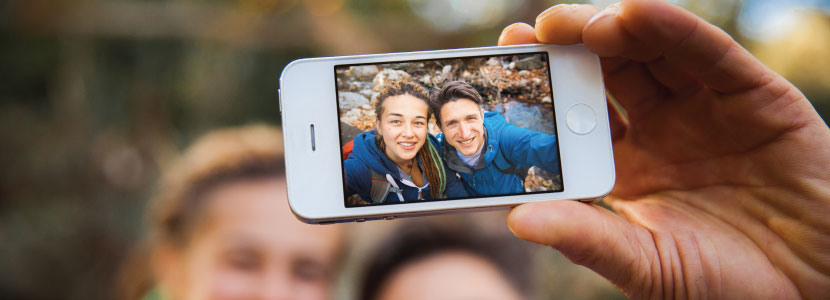
For many, smartphones have become a one-stop shop for almost all tech devices that are used daily. Smartphones have replaced standalone items such as alarm clocks, flashlights, GPS, radios, computers, and many more. This has helped save us time and money when shopping for our tech. One of the most expensive tech devices that phones have replaced have been cameras. These days, everyone has a camera on them via their phone. Although smartphone cameras may not be up there with DSLRs (professional cameras) when it comes to quality, they still are able to produce photos and videos that are stunning and convenient. As technology has rapidly evolved over the years, camera phones have come equipped with more features that allow you to shoot superior photos and videos compared to basic compact cameras on the market. While smartphone camera abilities vary based on what phone you have, these tips and tricks can help anyone improve their smartphone photography.
Find the Best Light
There is a sensor in your phone which is responsible for collecting light and converting it to a picture. Pictures that are taken with more light result in higher quality images that are not grainy. The larger the sensor, the more light is captured. Smartphones have compact sensors due to their size. Therefore, it is more difficult to produce high quality photos if there isn’t a lot of light in your picture. Natural light produces some of the best results because it is what the human eye is drawn to. The sun emits enough light for your phone sensors to produce high quality images.
When indoors, the best lighting for pictures is by a window. Windows block the sun from hitting your subject directly and help diffuse some of that light. Diffused light means that there’s no harsh dark and bright spots, just evenly dispersed and soft light. When outdoors, you want to avoid direct sunlight. When you’re shooting in direct sun, it’s very harsh on your subject’s face. This results in squinting and harsh shadows throughout your picture. That is why shooting outside on a cloudy day is ideal, and if it isn’t cloudy, you should try to find a spot that offers some shade.
If you are shooting with artificial light, which is any light that isn’t the sun or moon, don’t be afraid to add and adjust light. You could use additional light from a flashlight to help brighten up a shot. Also, be sure to try different poses, angles, and directions because changing the way the light source faces your phone and the subject can change a picture dramatically.
Stand Still
This may seem obvious but standing still will dramatically change the quality of your picture. Smartphones are much more lightweight compared to actual cameras. While this makes our phones easier to carry and hold in our purses and pockets, it also makes taking clear pictures more of a challenge. It is hard to hold a smartphone steady because of its shape and weight which can result in blurred images. Try to hold your phone with both hands, and make sure you are focusing on keeping your arms and legs still.
In dark conditions, you are even more likely to have blurred photos because the diminished light results in lower quality pictures. To help counteract this, try propping your phone up against a flat surface.
Rule of Thirds
The rule of thirds is something professional photographers, painters, and cinematographers use to get the most visually interesting pictures. This rule breaks down a picture into 9 equal parts by two equally spaced horizontal lines and two equally spaced vertical lines. Ideally, your subject will create visual interest in a third of the picture, while also balancing out the empty space in the remaining two-thirds. According to the rule, by positioning key elements along the gridlines, you’ll end up with better compositions. To find these gridlines, you can usually turn the grid on in your phone’s camera settings.
The rule of thirds also identifies four power points at the center of each gridline intersection. Here, is where you can position points of interest because the human eye is drawn to focus on these areas. This helps with the balance of your image.

Edit, edit, edit!
Editing your smartphone photography can help them look even better. Most phones have a built-in editor these days that will help you adjust a picture after it has been taken. Editing is helpful because it allows you to change aspects of the picture that you couldn’t the first time. Cropping a photo is one of the most basic edits that can be applied to a picture. This means you are adjusting the “borders” of your picture. Which in turn helps you remove certain aspects of the background and bring more attention to the subject of your photo.
Some more advanced editing options include erasing items, adjusting color tone, changing brightness, and adding gradients. These more advanced features may require you to download additional apps. Editing is something to spend some time on getting the hang of to help clean up your original photos.
![]()
These are just a few tips and tricks that we think are helpful when it comes to smartphone photography. Each phone has different features, so make sure you play around with your phone’s unique settings. Just remember, have fun when taking pictures and try new things!
At Twigby, we provide affordable cell phone service using the nation’s largest and most reliable network. The best part is you get to create your own plans based on your needs! Plus, we offer phones with great cameras for your smartphone photography needs. Click here to see for yourself.
